 Click images to enlarge
Step 1 - Isometric Dot Pattern in Paint
 scroll down
Step 2 - Sketch a rectangle

Step 3 - Sketch in one ‘cut-off’ corner

Step 4 - On the Image menu choose Flip/Rotate

Step 5 - ‘Rotate Vertical’ will print an exact copy which will be perfectly symmetrical

Step 6 - ‘Flip horizontal’ will print a symmetrical image for the right-hand side. Copy and paste it and then flip it.


Step 7 - Use the isometric guide lines to sketch in 3D perspective lines
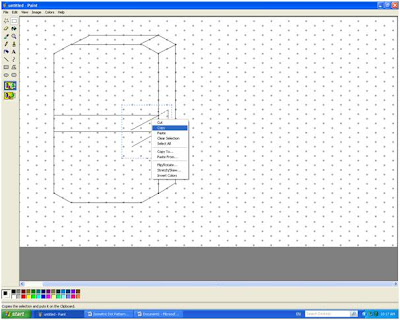
Step 8 - Use the Copy and paste facility (right mouse click)to make sure lines are parallel. This will give your drawing a slick and accurate look.
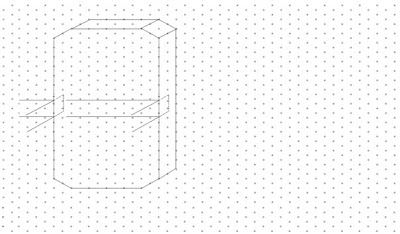
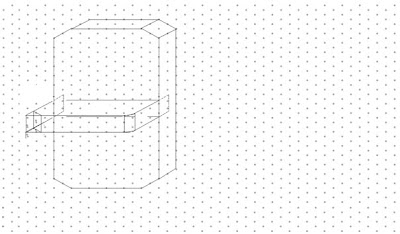
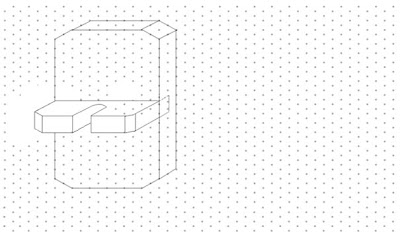
Step 9 - Remove extra lines that cannot be seen.
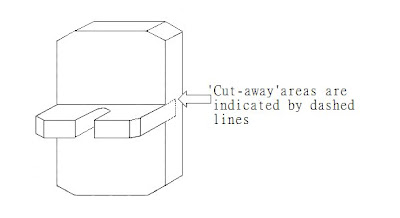 Step 10 – Remove guideline dots . Cut away areas such as the trench should be shown by broken or ‘dashed’ lines.
 Back to Valerie Zeb's Home Page